
INSTALLATION GUIDES
Everything You Need to Install Lumberock, in One Place
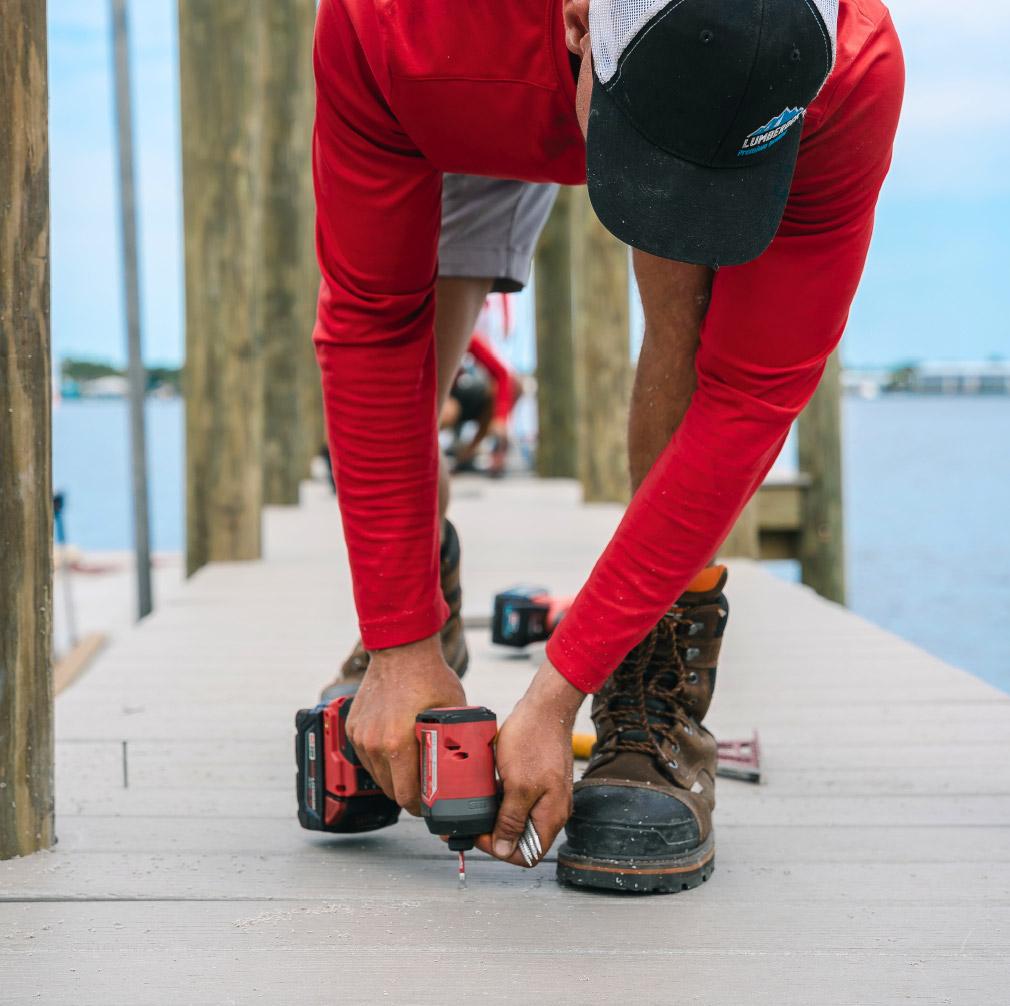
Lumberock boards are easy to install with standard woodworking tools, no pre-drilling necessary, and boards won’t mushroom or pigtail around screw heads. Whether you’re building a deck, dock, porch, or railing, these guides walk you through planning, substructure prep, fastening, and finishing touches.
START HERE
Getting started on your Lumberock project
Choosing Lumberock® Marine Grade Decking is the first and easiest step. From there, a successful project comes down to six steps: plan and design your layout, gather your materials, prepare a solid and properly spaced substructure, install your boards, add finishing touches like railing and stairs, and enjoy your handiwork. Once it’s built, maintenance is minimal, simply clean periodically with soap and water.
STEP-BY-STEP GUIDES
Find the installation guide for your project

DECKING INSTALLATION
Decks and docks, board by board
Framing, board orientation, and gapping guidance for decks and docks. Run boards perpendicular or diagonal to level, structurally sound joists, with no side-by-side gapping needed and clear charts for thermal expansion at board ends.
RAILING INSTALLATION
Composite railing, step by step
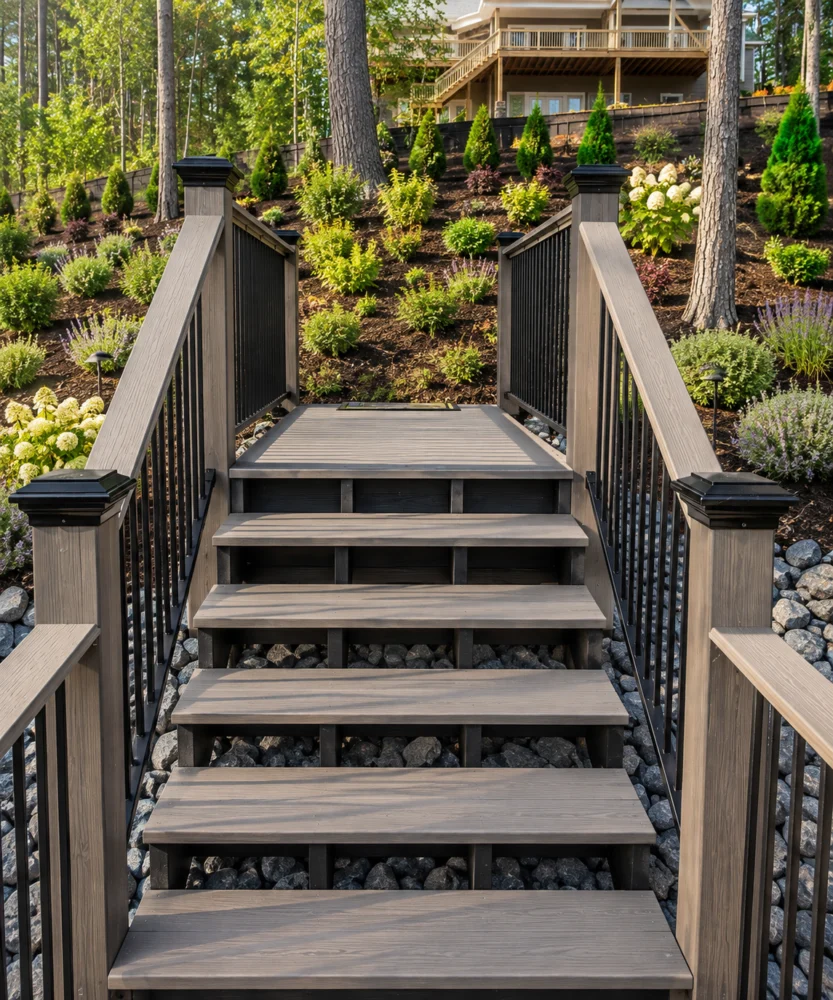
How to build a 6-foot railing section with composite lumber, measuring between posts, cutting the top rail, spindle supports, and thirteen 2×2 spindles, then attaching the finished assembly to posts spaced six feet or less apart.
FASTENING OPTIONS
Face fastening and hidden systems
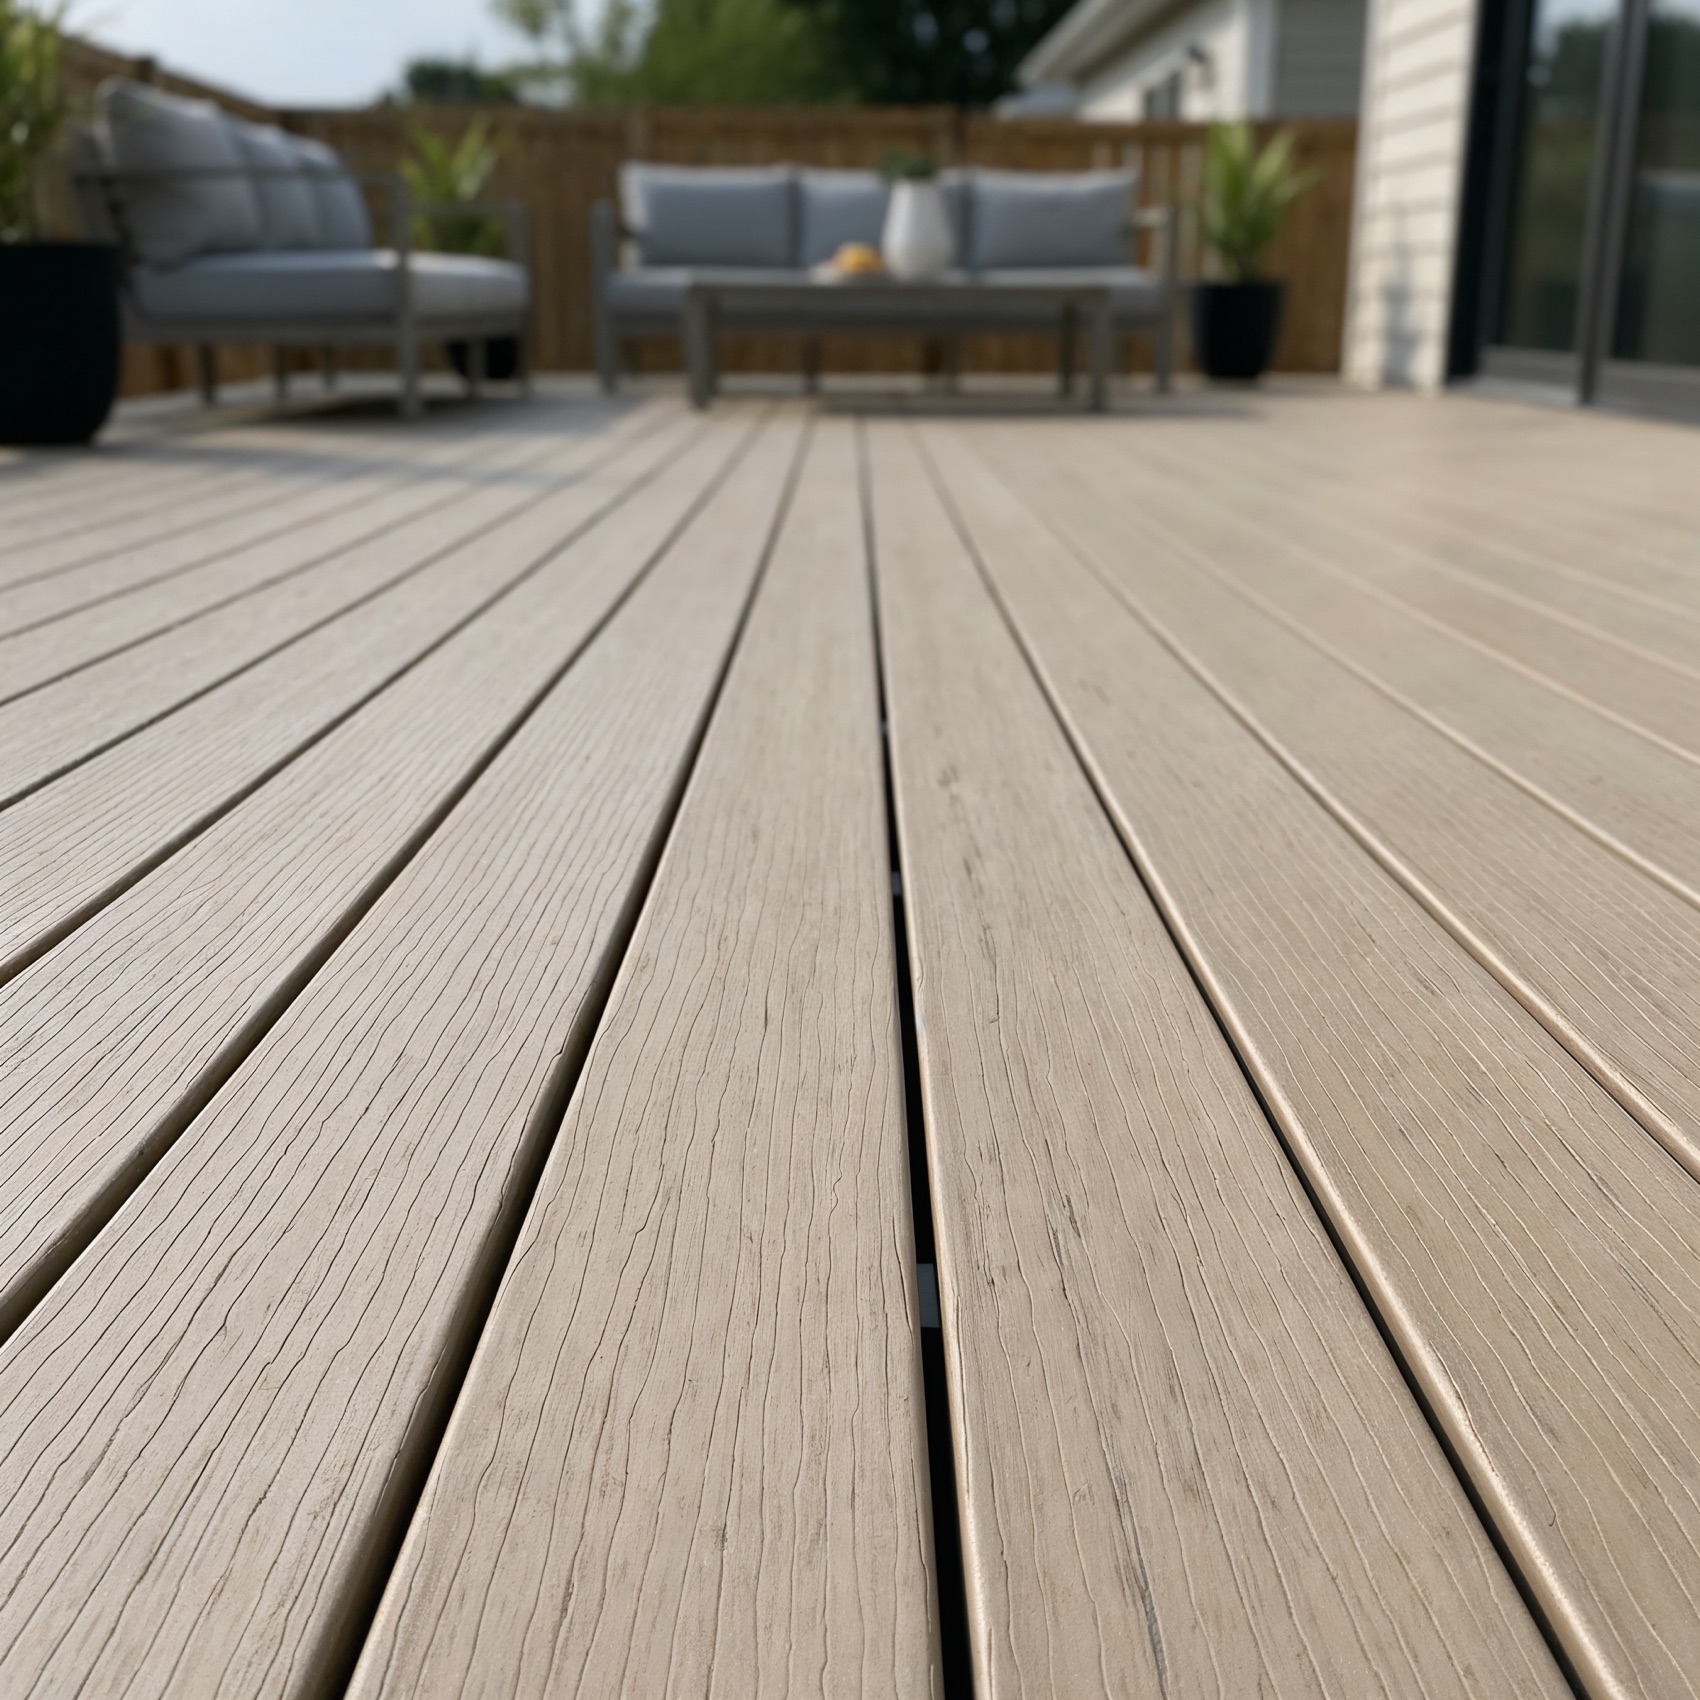
Solid profiles take stainless steel flat head or composite deck screws (#8 and #10) with no pre-drilling, the strongest option for wind and water uplift. Grooved profiles pair with hidden fasteners like EB-TY® biscuits, recommended for boards over 16 feet.
PORCH BOARD INSTALLATION
Tongue-and-groove porch boards
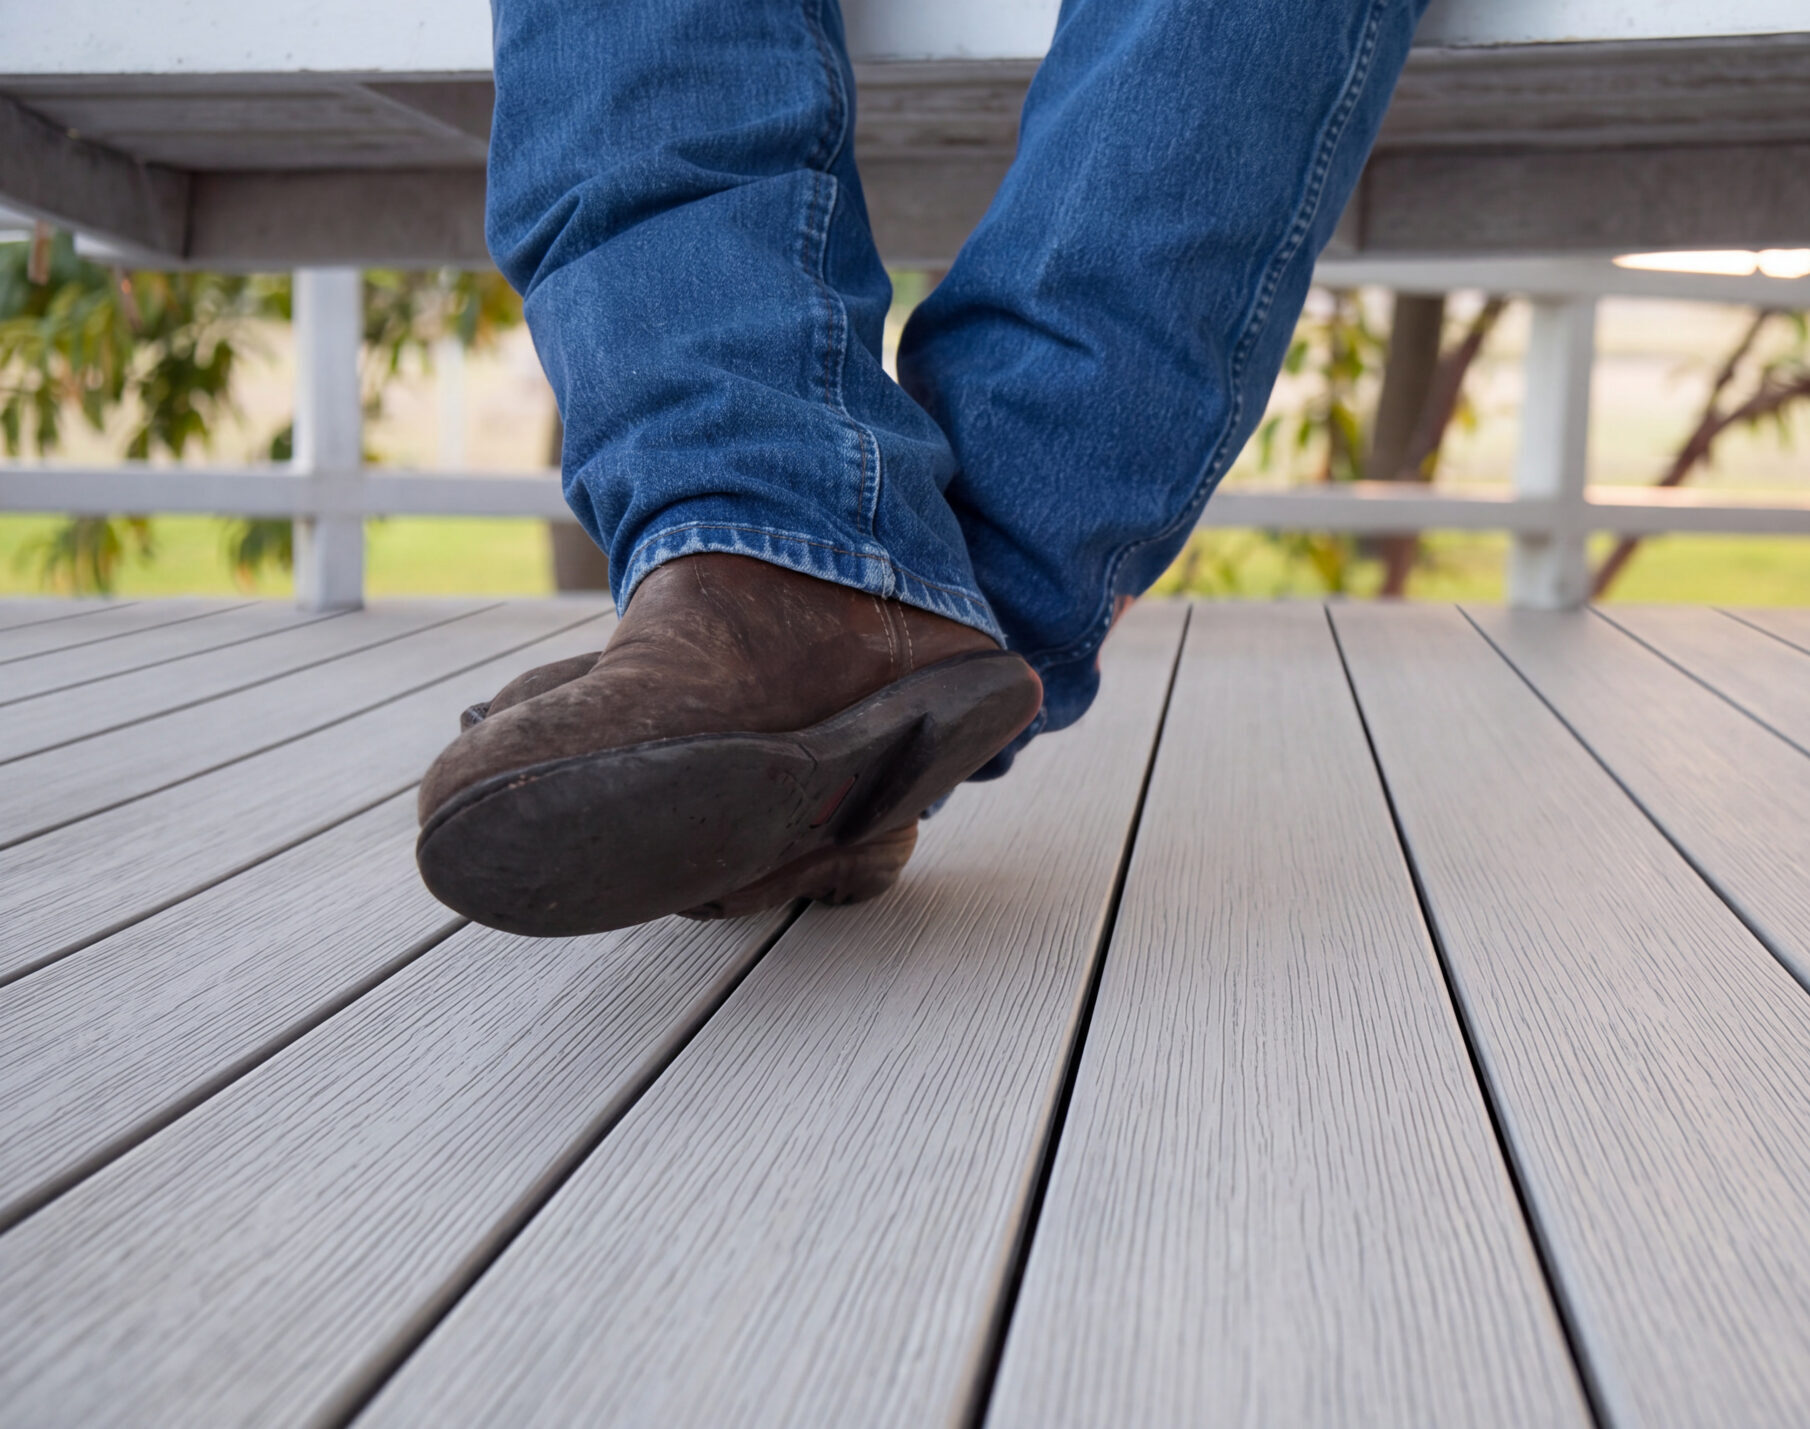
Storage, spacing, and fastening specs for premium porch board, 12" on-center joist spacing for 90° installs, 8" for 45° installs and stairs, with recommended stainless steel trim head screws or cleat flooring nails.
BEFORE YOU BUILD
Every installation is unique
It is the sole responsibility of the installer to determine the specific requirements of each application. Lumberock recommends that all designs be reviewed by a licensed architect, engineer, or local building official before installation begins.
16"
Maximum on-center joist spacing for decking
1/4"
Recommended end-to-end gap between boards
#8–#10
Stainless steel screw sizes for face fastening
0
Pre-drilling needed during installation
WHY IT INSTALLS DIFFERENTLY
Plan for the material, and it performs for decades
Lumberock boards expand and contract with yearly temperature changes, a 12-foot board installed at 60°F will expand about 1/8″ on each end, so proper gapping at board ends, trim, and the house is the key detail that sets a Lumberock install apart. Get the gaps right, install with the woodgrain pattern facing up, and the result is a waterproof surface that needs only periodic cleaning with soap and water.
NEXT STEPS
Keep your project moving
NEXT STEP
Profiles & Sizes
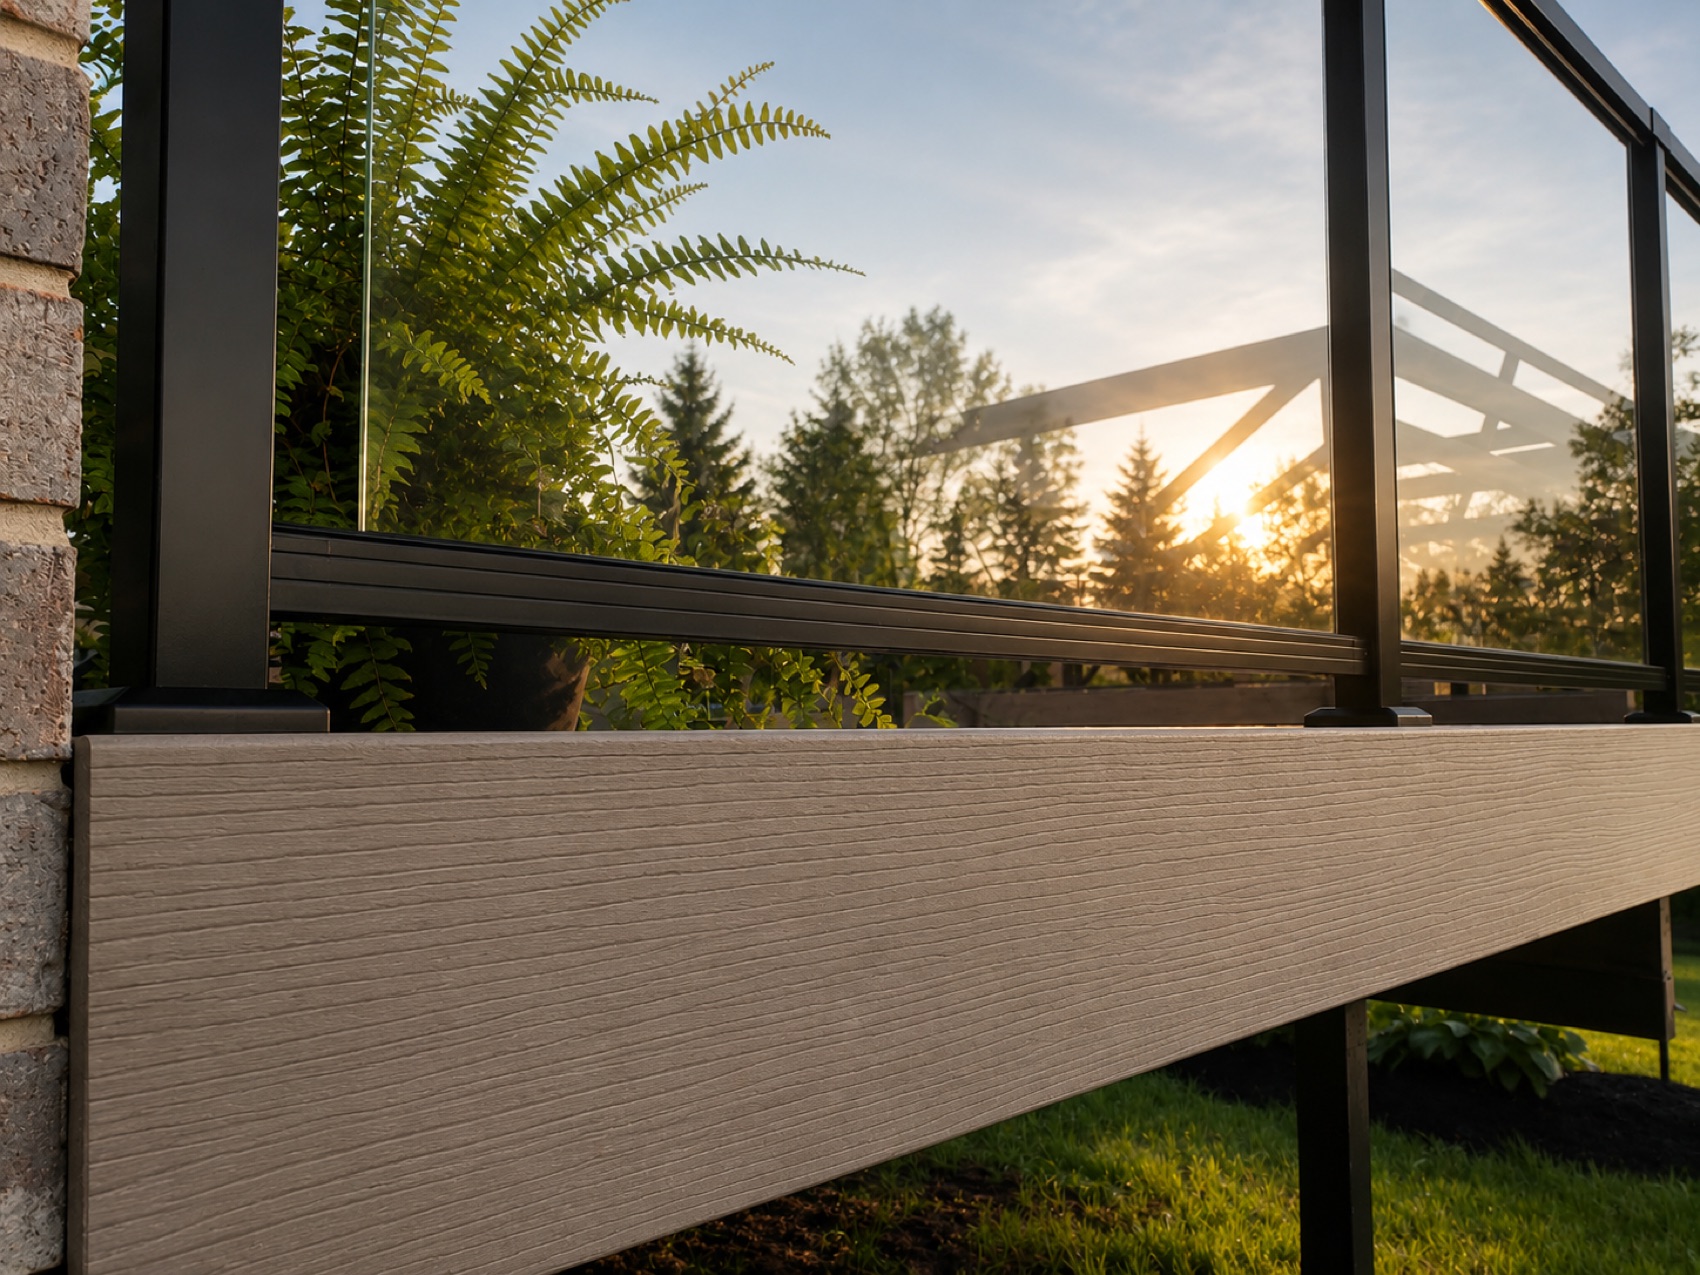
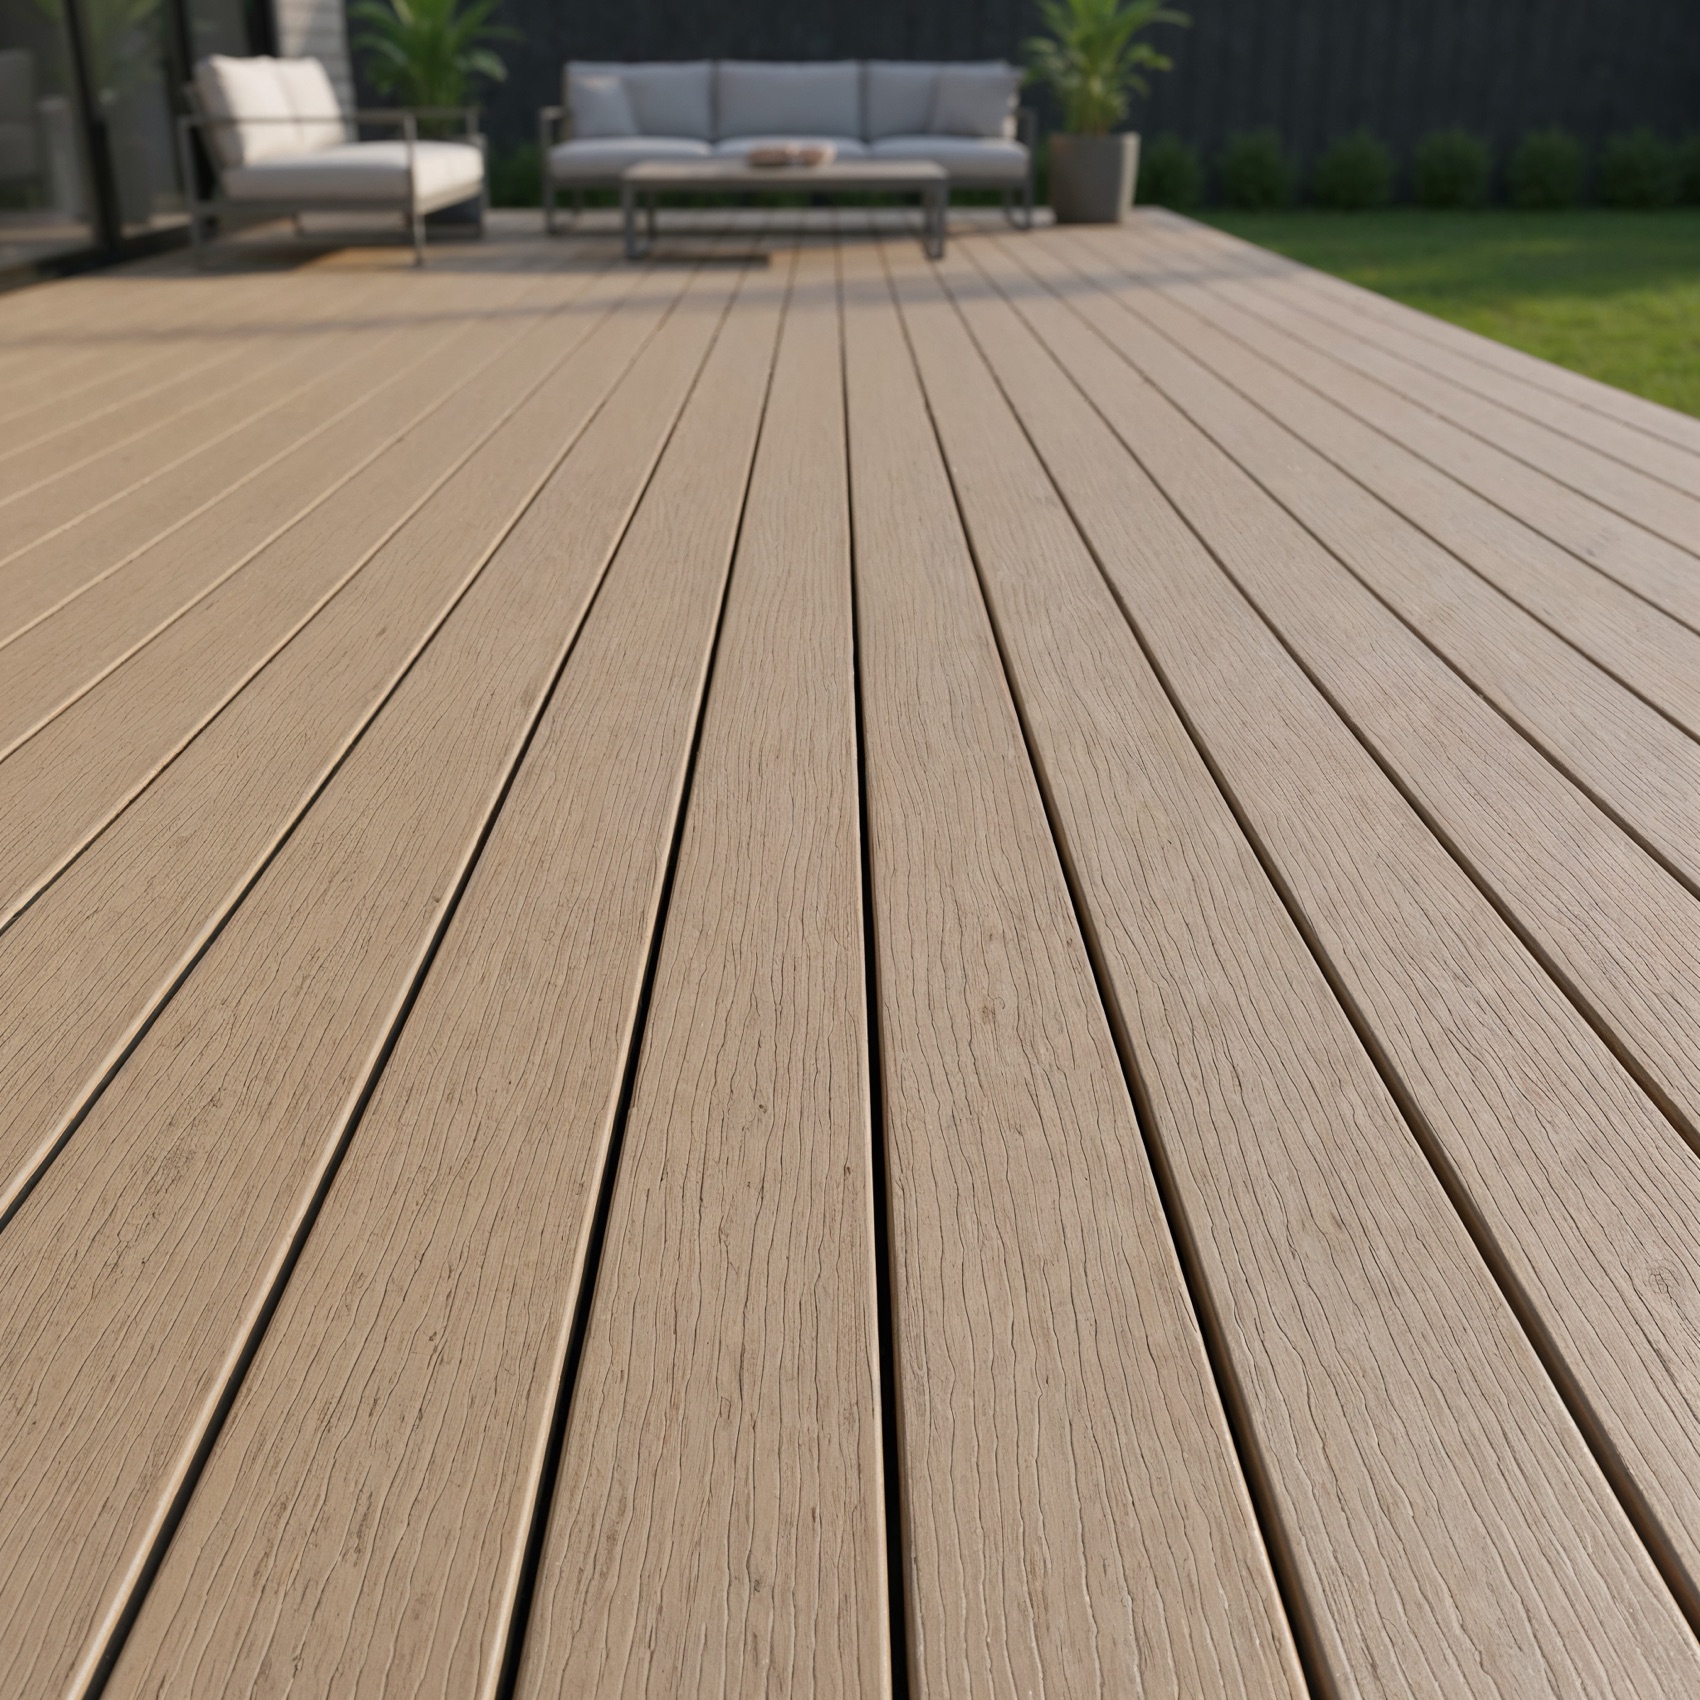
Find the right board profile and dimensions for your application, solid profiles for face fastening, grooved profiles for hidden fastening.
NEXT STEP
Specifications
Review technical specifications and documents before your design goes to a licensed architect, engineer, or building official.
NEXT STEP
Get Started
New to Lumberock? Order samples, request a quote, or find a dealer near you.
READY TO BUILD?
Start your Lumberock project with confidence.
See and feel the boards before you build, request free samples, or reach out to the Lumberock team with questions about your installation.